From Zero to Production: The Complete Path
A structured learning path and architectural progression for shipping a real AI-powered product: from demo to MVP to full production system. Every stage explained.
Most tutorials end at “it works on my machine.” This guide starts there, and takes you to a real, deployed, user-facing product. It covers the full progression: demo, MVP, and production-grade system. Every infrastructure decision is explained. Every cost is visible.
This is the learning path for someone who understands AI at a conceptual level and wants to turn that understanding into something that actually ships.
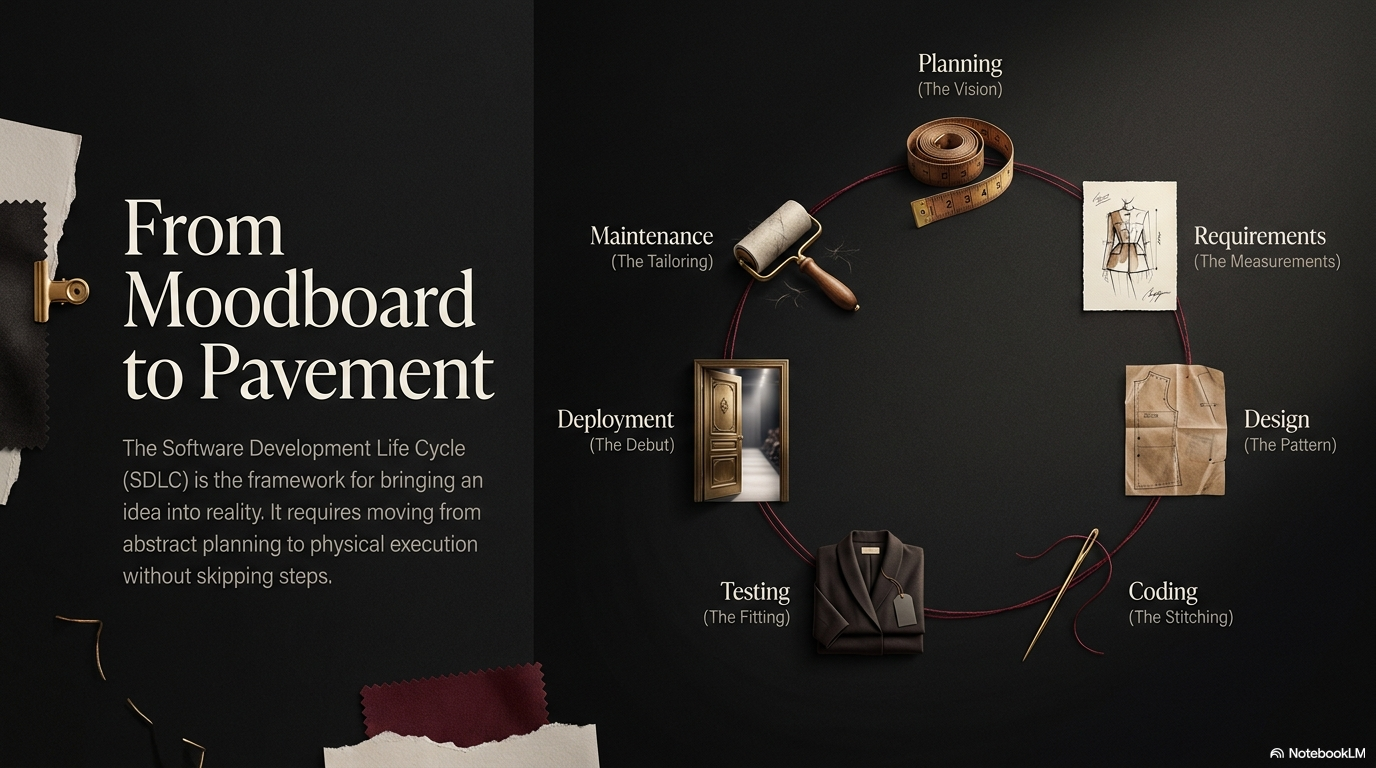
The four stages
Each stage is a complete, shippable product. Stage 2 does not replace Stage 1, it builds on top. The same codebase grows incrementally.
Stage 0: The Demo
What it proves
The demo answers one question: does the product experience feel right? Not “will it scale” or “is the AI accurate”, just: does this feel worth building more of?
This is the most important principle in modern product development: validate before you invest. Building cloud infrastructure, a database, and an AI pipeline costs weeks of time and real money. A demo costs two or three days and nothing.
If the demo does not feel compelling, you change direction before spending the real effort. If it does, you move to the MVP knowing you are solving the right problem.
Demo architecture
What a demo always includes: and always omits
| Included in demo | Omitted from demo | Added in MVP |
|---|---|---|
| All screens and navigation | User accounts / login | Supabase Auth |
| Core UX flows | Cloud storage | Supabase Storage |
| Hardcoded sample data | Live AI responses | Claude API |
| On-device state (AsyncStorage) | Real-time weather | Open-Meteo API |
| The visual identity | Background AI processing | Async job queue |
| Transition animations | Push notifications | expo-notifications |
Everything omitted from the demo is omitted by design, not by accident. The demo should run with npx expo start and nothing else.
Tools at this stage
- React Native : cross-platform mobile framework
- Expo : the toolchain that makes React Native practical
- Zustand : minimal state management
- AsyncStorage : on-device persistence
Stage 1: The MVP
The MVP (Minimum Viable Product) is the first version real users can sign up for. It introduces accounts, cloud storage, and the AI features that make the product differentiated.
What is an MVP? The smallest version of a product that delivers the core value to real users. Not a prototype: it actually works. Not a full product: it has exactly what is needed and nothing more.
MVP architecture
What changes from demo to MVP
The screens stay the same. The data layer changes completely:
| Demo | MVP |
|---|---|
AsyncStorage for all data | API calls to Node.js backend |
| Hardcoded seed data | Real user data from PostgreSQL |
| Static avatar placeholder | User-uploaded photo in cloud storage |
| Rule-based suggestions | Claude API generating real responses |
| No auth | Email magic link (Supabase Auth) |
| Hardcoded weather | Open-Meteo API call |
The demo-to-MVP transition checklist
- Set up Supabase: create project, run schema migrations, enable auth
- Create the API server: Node.js + Hono, connect to Supabase, add auth middleware
- Replace AsyncStorage calls with API calls in the mobile app
- Add AI inference: connect Claude API for the stylist; set up the Python service for heavy AI
- Set up the job queue: BullMQ + Redis for slow AI operations (image generation, processing)
- Deploy: Railway for the API, RunPod or Modal for the Python AI service
- Instrument: add logging and error tracking before your first user sees it
Why each technology exists
Supabase instead of raw PostgreSQL: Supabase bundles the database, authentication, and file storage in one managed service. For a small team, this eliminates weeks of infrastructure setup. The free tier covers the demo-to-MVP transition at zero cost. See Supabase .
Railway instead of AWS: Railway auto-detects your framework, builds it, and deploys it with one command. No Dockerfile required. No IAM policies. No load balancer configuration. When you outgrow Railway, migrating to AWS is straightforward. See Railway .
FastAPI for the AI service: Python is the language of AI libraries. FastAPI is the modern Python web framework with native async support and automatic OpenAPI documentation. It handles the long-running, compute-heavy operations that Node.js cannot efficiently handle. See FastAPI .
Async job queue for AI inference: AI image generation takes 15-60 seconds. HTTP requests time out after 30 seconds. The solution: queue the job, return a job ID immediately, have the app poll for completion. See Async Job Queues .
Stage 2: Daily Value
Stage 2 does not change the core product. It makes the product worth opening every day.
The key insight: a wardrobe management feature is used weekly. But weather and calendar are daily inputs. Stage 2 connects the core product to daily life through scheduled automation.
What it adds
| Feature | Technology | Why it matters |
|---|---|---|
| Calendar sync | Google Calendar API / Apple Calendar | See upcoming events → suggest outfits |
| Weather-aware suggestions | Cron scheduler + Open-Meteo | Proactive daily recommendation |
| Push notifications | expo-notifications + APNS/FCM | Re-engages users when the app is closed |
| Sustainability tracker | Local logic (no AI) | Wear count, CO₂ savings, donation nudges |
| Outfit planning calendar | New DB tables + UI | Assign outfits to days, see the week |
New concept: Cron scheduler
A cron scheduler runs code at a fixed time. Every day at 7am: fetch the weather for each user’s location, build an outfit suggestion using Claude, send a push notification. This is what makes a product feel alive and proactive rather than passive.
New concept: Push notifications
Push notifications are messages sent from your server to a user’s phone even when the app is closed. On iOS they route through Apple’s servers (APNS). On Android through Google’s servers (FCM). The user must grant permission. Expo’s expo-notifications library provides a unified API for both.
Stage 3: The Ecosystem
Stage 3 adds the marketplace layer. This is when the product transforms from a personal tool into a community, and when the revenue model becomes substantial.
What it adds
- Peer-to-peer marketplace: list items from your wardrobe for sale or trade with one tap
- Virtual try-on before buying: see any marketplace item on your own avatar before committing
- Creator storefronts: independent makers selling their own designs
- Stripe Connect payments: automatic payment splitting, tax reporting, dispute handling
Stripe Connect: why you never build this yourself
Stripe Connect handles everything a marketplace needs: splitting payments between buyer and seller, KYC (identity verification, legally required), tax reporting, dispute resolution, and payout scheduling. Building this manually would take a team 6-12 months and still not be compliant with EU payment regulations.
Cost model: Stripe charges a per-transaction card fee, for example 1.5% + €0.25 for standard EEA cards in Austria (2.5% + €0.25 for UK cards; rates differ by country and card type), plus Connect fees depending on the account setup. The marketplace takes an additional 10-15% commission via application_fee_amount. Stripe handles the split automatically. See Stripe Connect
.
Cost at each stage
| Stage | Monthly cost | Per user cost |
|---|---|---|
| Demo | €0 | €0 |
| MVP at 1,000 MAU | ~€98 | €0.10 |
| Stage 2 at 10,000 MAU | ~€720 | €0.07 |
| Stage 3 at 100,000 MAU | ~€7,000 | €0.07 |
The biggest cost driver at every stage is AI inference: specifically image generation and processing. This is why any AI operation that costs more than €0.01 should be rate-limited for free users or placed behind a paid tier.
The skill progression
Each stage requires new skills. Here is what you need and where to learn it:
The decision that matters most at each stage
At Stage 0: Is this the right problem to solve? Do not build infrastructure before you know the answer.
At Stage 1: What is the one feature that delivers the core value? Everything else is Stage 2. Be ruthless about the MVP scope.
At Stage 2: What is the activation event that turns a new user into a retained user? Build toward that metric.
At Stage 3: What creates the network effect that makes the marketplace defensible? The marketplace has value proportional to its density: the more sellers, the more buyers, the more sellers.
Further reading
- What is React Native? : the mobile framework at the foundation
- Expo : the toolchain that makes React Native practical
- Supabase : database + auth + storage
- Railway : application hosting
- FastAPI : the Python API framework for AI services
- Async Job Queues : how to handle slow AI operations
- Stripe Connect : marketplace payments
- Build-Measure-Learn : the product methodology behind this progression
- Lean Canvas : the business model before you write a line of code
- AI Monetization Strategies : freemium model design
- Building RAG Systems : when your app needs document-based AI
Sources
- Stripe, “Pricing” (Austria, standard card fees; fetched 25 September 2026): https://stripe.com/at/pricing